[:en]
Display Settings
Display Settings menu designed to show main settings of the final product.
Display Settings Menu has not completed yet. Submenu implementations still in process.You can observe completed items with Functionality checkbox from the table provided in each section.
If the functionality box is not marked yet that means implementation has not finished.
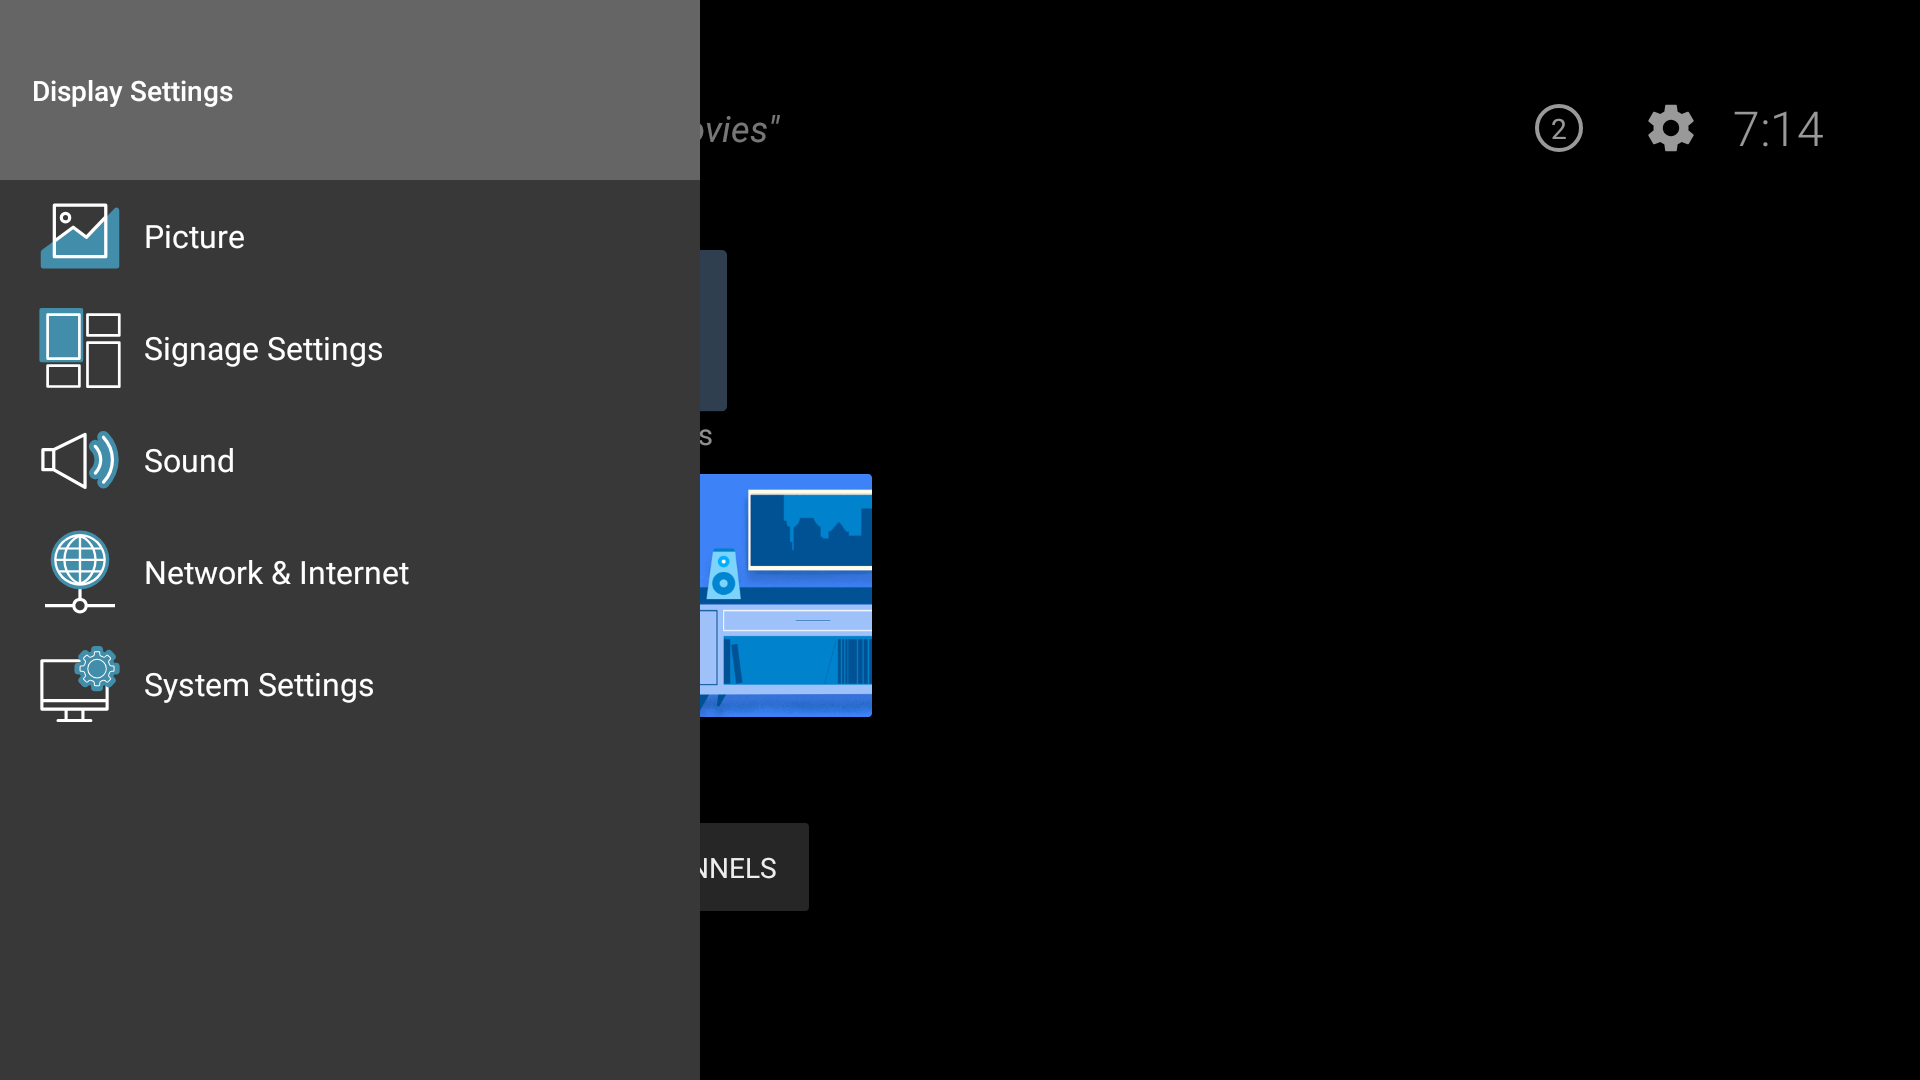
1- Picture Settings
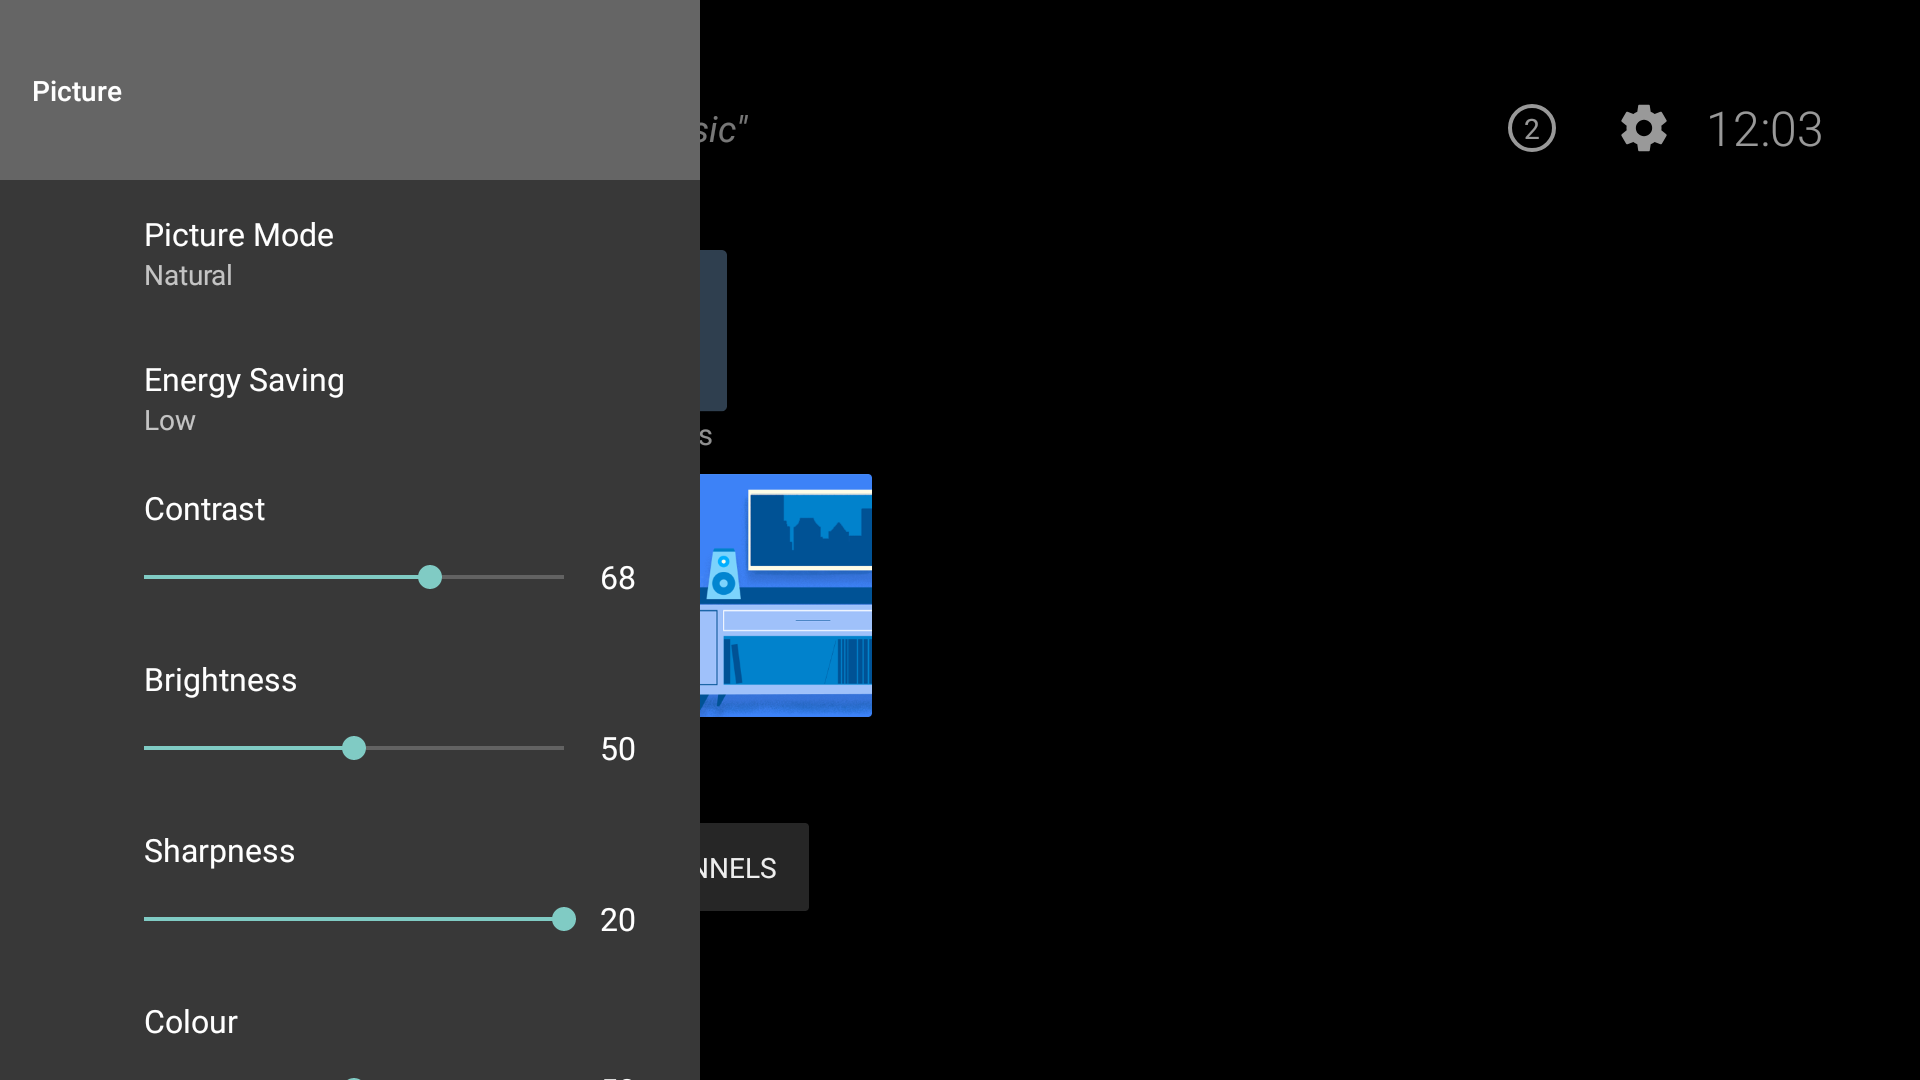
| Item | Function | Functionality |
| Advanced Settings | Open Picture Advance Settings | √ |
| Backlight | Adjust Backlight level | √ |
| Brightness | Adjust Brightness level | √ |
| Colour | Adjust Colour level | √ |
| Contrast | Adjust Contrast level | √ |
| Energy Saving | Changes Energy Saving Mode. Options: Off, Low, High | √ |
| Picture Mode | Changes Picture mode. Options: Game,Sports,Signage,Natural,Text | √ |
| Picture Zoom | Options: 16:9, Person, Movie, Caption, 4:3, Full, Normal, No Scale Up, Crop Full, Crop, Zoom, Max | |
| Reset | Resets picture settings to default | √ |
| Sharpness | Adjust Sharpness level | √ |
| Virtual HDR | Options: On, Off |
1.1- Picture Advance Settings
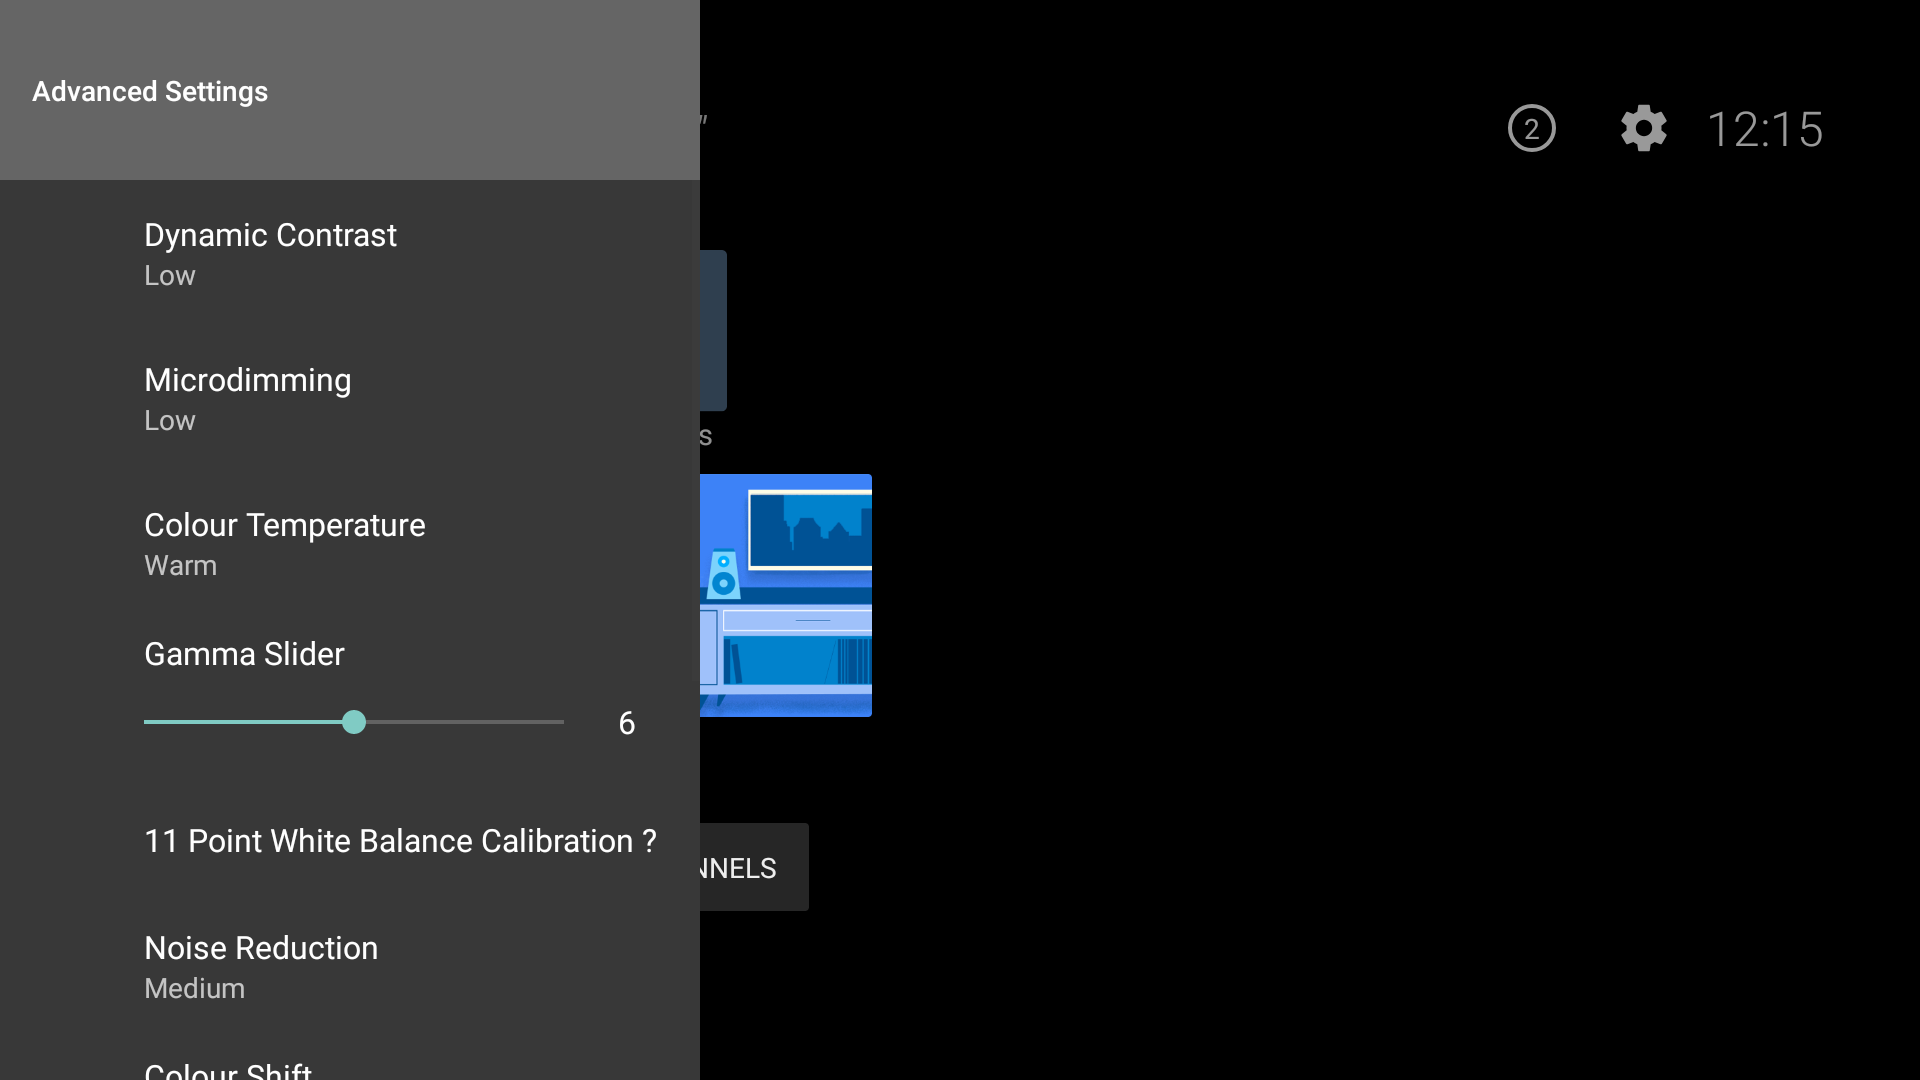
| Item | Function | Functionality |
| Dynamic Contrast | Options: High, Medium, Low, Off | √ |
| Microdimming | Options: Hight, Medium, Low, Off | √ |
| Colour Temperature | Options: Normal, Warm, Cold, Max, User | √ |
| Gamma Slider | Changes Gamma level | √ |
| 11 Point White Balance Calibration | ||
| Noise Reduction | Options: Hight, Medium, Low, Off | √ |
| CM Level | Options: Max, Demo, Enhance, Optimize, Off | √ |
| Colour Shift | Adjust Colour Shift Level | √ |
| Skin Tone | ||
| Gamut Mapping | Options: On , Off | √ |
| Film Mode | Options: Auto, Off | √ |
| HDMI RGB Range |
|
2- Signage Settings
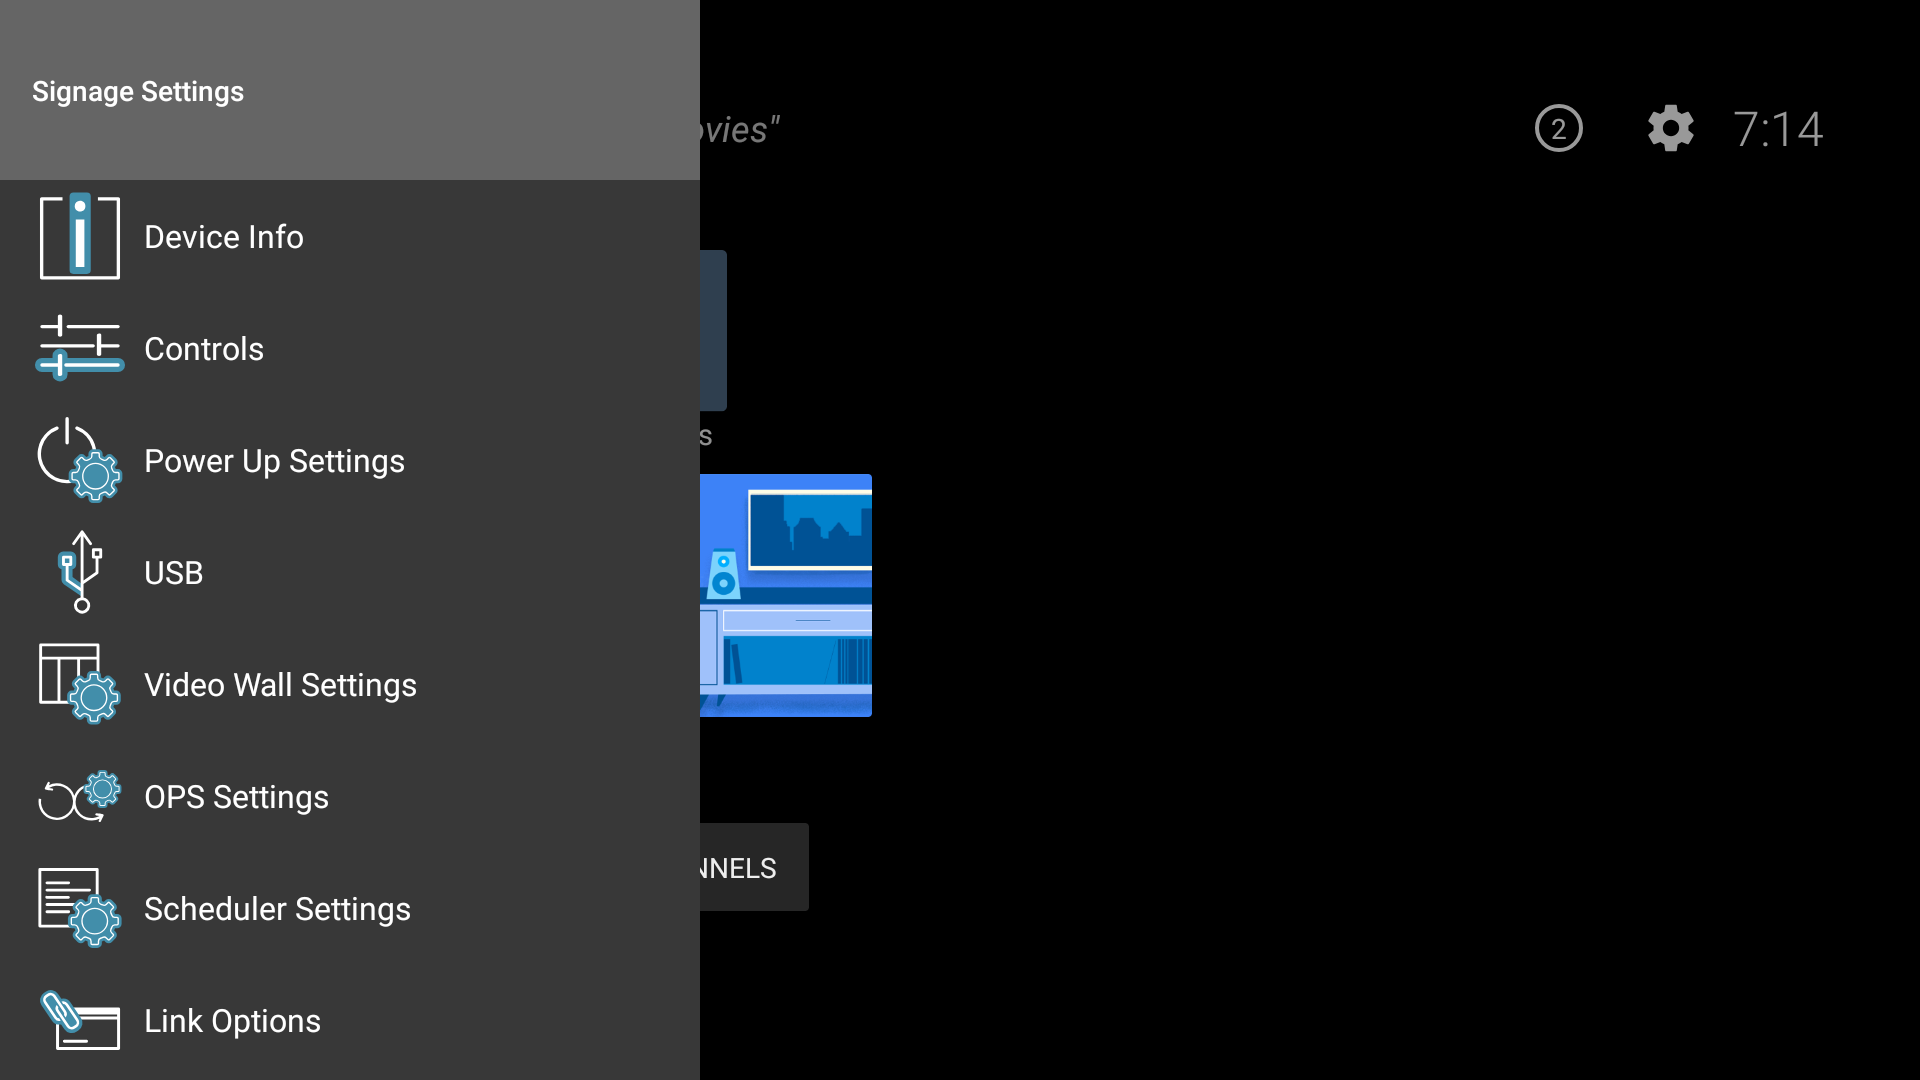
| Item | Function | Functionality |
| Device Info | Open Device Info Settings | √ |
| Controls | Open Controls Menu | √ |
| Power Up Settings | Open Power Up Settings Menu | √ |
| USB | Open USB Menu | √ |
| Video Wall Settings | Open Video Wall Settings | √ |
| OPS Settings | Open OPS Settings | √ |
| Scheduler Settings | Open Scheduler Settings | √ |
| Link Options | Open Link Options Menu | √ |
| Volume Settings | Open Volume Settings | √ |
| Reset To Default Values | √ | |
| First Time Installation | do factory reset and launch FTI menu | √ |
2.1- Device Info Settings
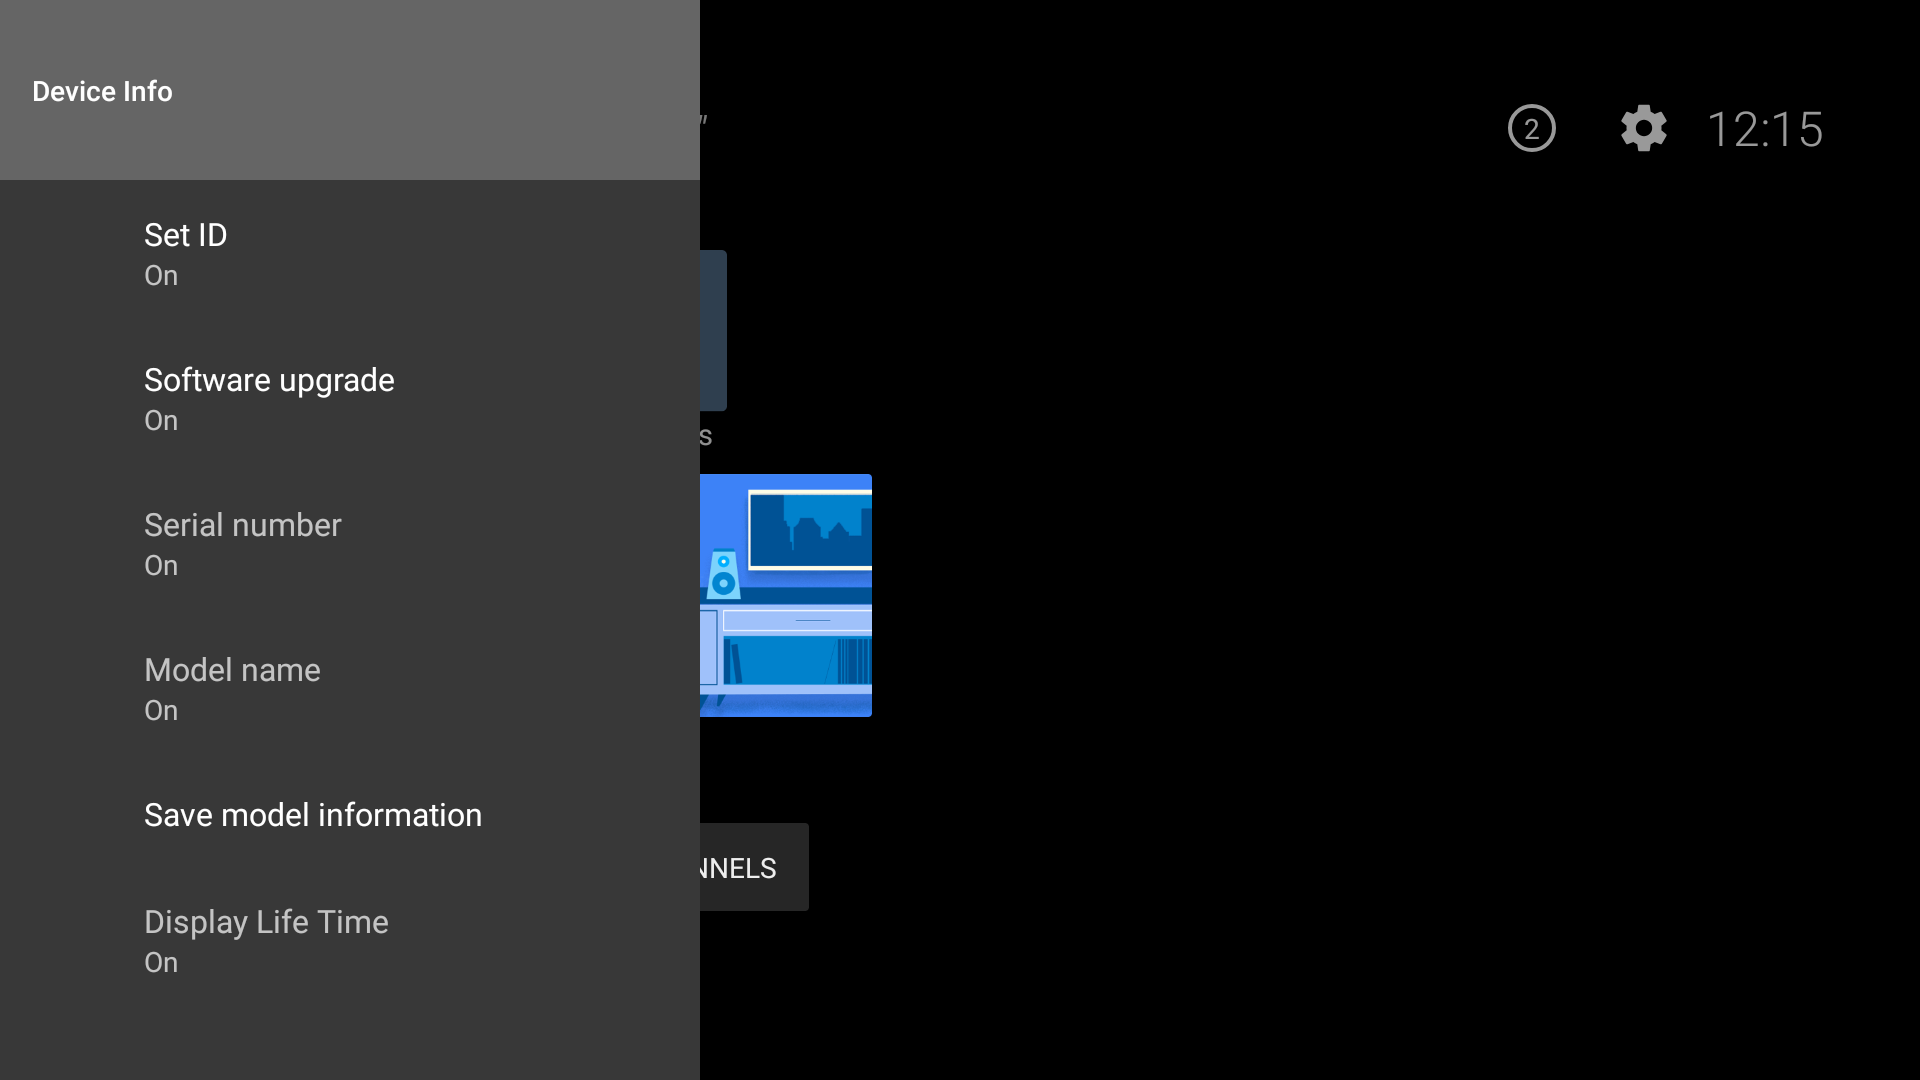
| Item | Function | Functionality |
| Set ID | Select unique device ID. Unique Set ID to send a command to a specified set among TV sets in a network. Value can be selected by digit keys and will be between 0-99 If the AdvancedVideoWall profile item is enable, the auto numbering feature will active. | √ |
| Software Upgrade | Show software version and search for update. | |
| Serial Number | Show serial number which provided during production | √ |
| Model name | Show model name which provided during production | √ |
| Save model information | Save model information in USB in following format: serialnumber.txt MODEL NAME: model_name SW VERSION: software_version | √ |
| Display Life Time | Shows display lifetime | √ |
2.2- Controls Menu
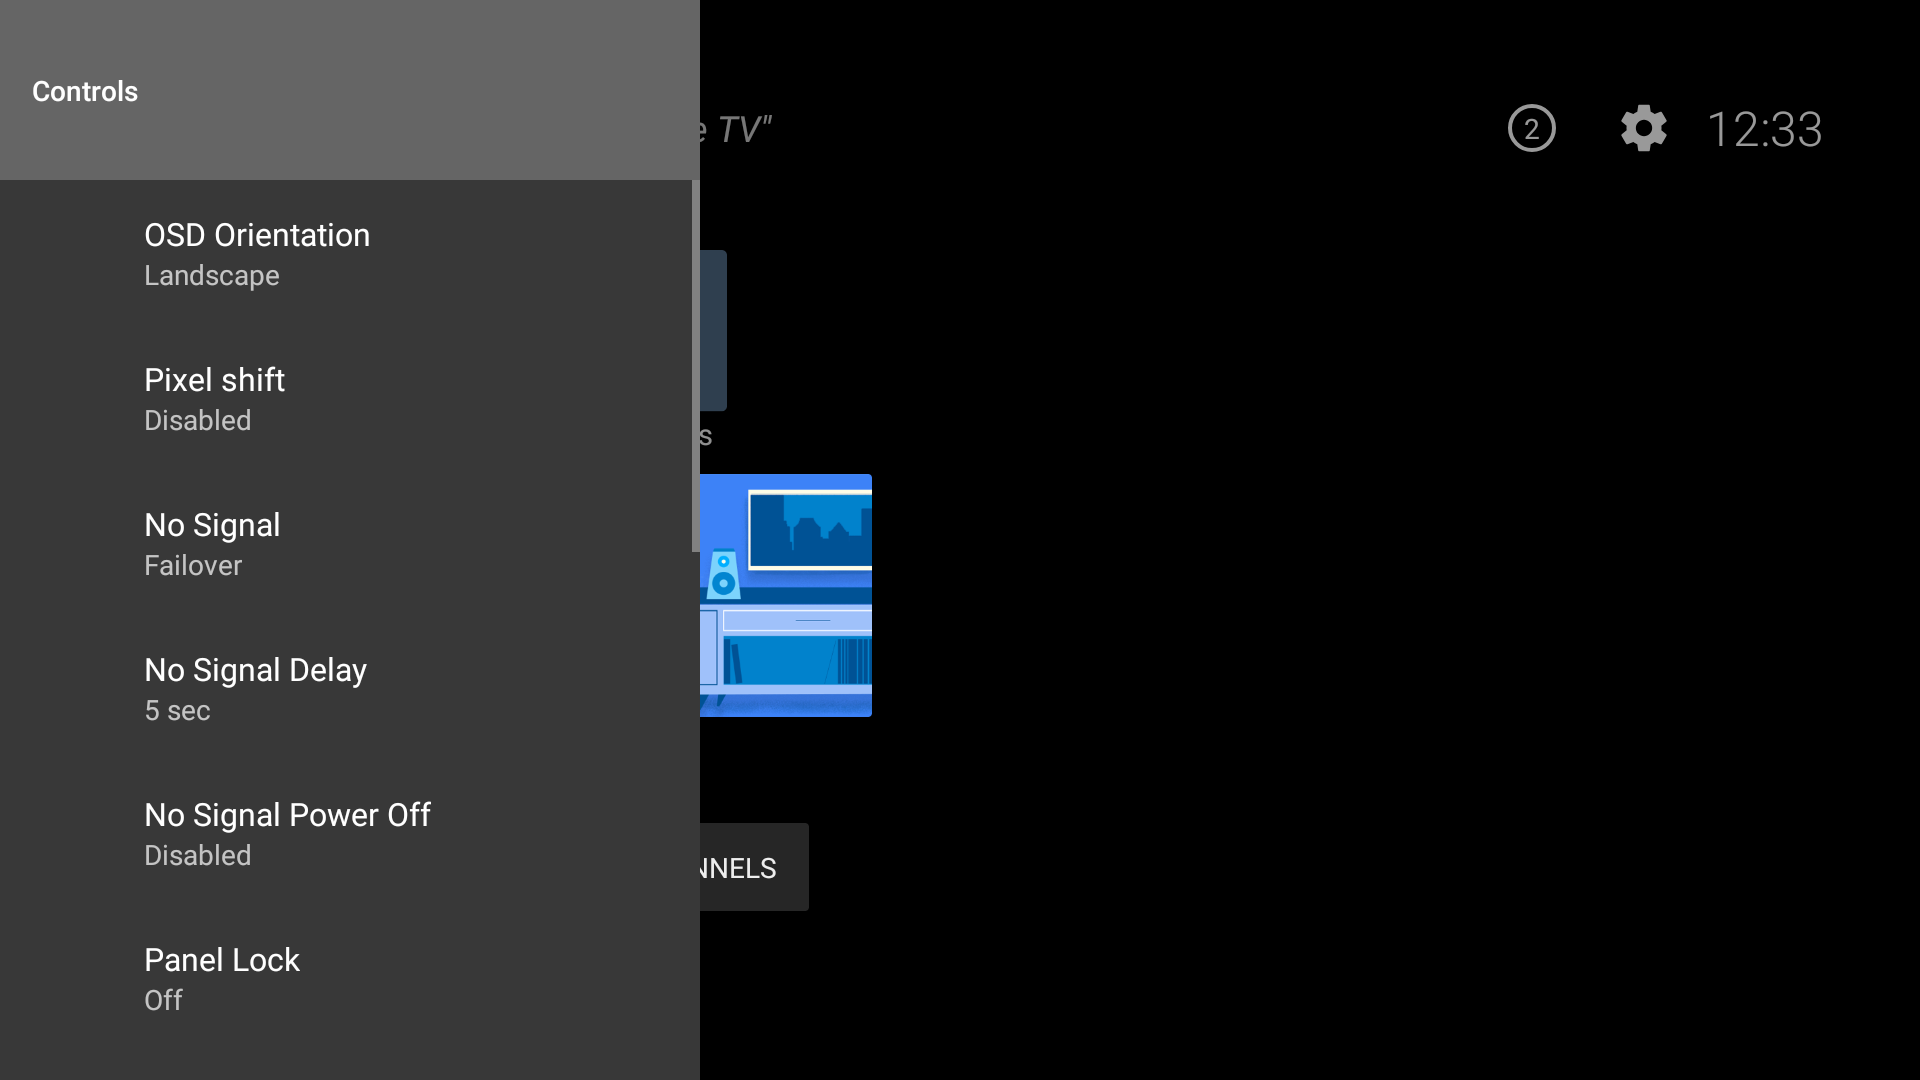
| Item | Function | Functionality |
| OSD Orientation | Selection between items landscape or portrait (Portrait types: cw90, cw270). It will be used only to rotate osd. | √ |
| Pixel Shift | Enable/disable pixel shifting. To avoid image sticking problem, the current image on the screeen (video+ browser OSD) is shifted 2pixels at background. Currently using following algo: 5 movements with 1 minute intervals, start at the centre point, left, up, right, down , back to centre. | |
| No Signal | Select Failover, Input Search In Failover 1) When usb is inserted, it will display photo if it is in usb. If there is no photo, it will play video if it is in usb (AUTOPLAY) . (USBAutoPlay feature) 2) If Usb is not inserted or no playable file exists in USB, it displays NoSignalImage.png in under conf which can be updated using USBOPERATIONS. For details : No Signal Image 3) If neither of them is present, No Signal Osd is displayed without the timer. In Input Search When No Signal Osd is displayed with timer,sources is scanned to find the signal.If the signal is not found until starting source, the TV shut down after 30 seconds. Also, user can change the scanning source order. If prioritisation option is selected by “OK” button, source settings dialog will be opened and with this source dialog, active sources can be prioritized or set as disabled. For details : Input Search Source Settings No Signal Power Off function is only active for Fail Over. If No Signal power off is enabled and No Signal OSD or NoSignalImage.png on the screen, tv will shut down after 5 minutes without displaying the countdown. If No Signal Timer item is available, user can select the display shutdown duration. | |
| No Signal Delay | Provides the delay time to start ” No Signal ” scenario. | |
| No Signal Power Off | Enable/disable no signal power off. It will be not active when No Signal’s value is Input Search. In fail over case, if No signal image or OSD is shown, this item will decide whether display will shutdown in 5 minutes or not. If No Signal Timer item is available, user can select the display shutdown duration. | |
| Panel Lock | It will be not active when no signal power off’s value is disabled.Enables (Panel Lock = On) or prohibits (Panel Lock = Off) the use of front panel buttons. (It was taken from Hotel mode dialog.) | √ |
| RCU Inhibit | On/Off Provides RCU locking. If OFF is selected, TV will go on normal operation. If It is ON RCU will lock. Only exit, select and arrow keys work. To turn these options to OFF later, “Signage Settings menu shortcut” (MENU(M)-1-9-7-3) can be used.(It was taken from Hotel mode dialog.) | |
| UART0 | Select ASCII/HEX protocol for UART 0. Default value is ASCII. There is no need to restart TV after selection in order to work with the protocols correctly. If the selection is changed, the latest selected protocol will be preserved and started when TV is boot up. Note that ASCII/HEX selection is not working while debug logs are enabled. If it is wrongly changed to HEX while debug logs are enabled, revert the selection to ASCII and reboot TV in order to correct the debug logs and the ASCII protocol behaviour. Note that HEX protocol will be worked with the baud rate value 19200 for UART0 Also, When its value is ASCII, there will be a baudrate selection menu to select new value. (Baud Rate Selection (only MB120DS)) This selection used for UART0-ASCII to support standby WAKEUP command and other testtool commands at same baudrate. The available options are 115220(default) and 38400(used for stby). After changing baudrate value, there is need to restart TV. | |
| UART1 | Select ASCII/HEX protocol for UART 1. Default value is HEX. There is no need to restart TV after selection in order to work with the protocols correctly.If the selection is changed, the latest selected protocol will be preserved and started when TV is boot up. Note that ASCII/HEX selection are always working as expected. It does not matter if the debug logs are enabled or not. Note that HEX protocol will be worked with the baud rate value 9600 for UART1 | |
| Embedded Touch | Enable/disable embedded touch features. Also, this item is only visible in case EmbeddedTouchEnabled profile option is true. | √ |
| Wifi and BT | Selected value determines that Wifi & BT is active or not. Auto: Wifi & BT will active in selected source. Display: If source is G10, Wifi & BT will active. Android: If source is android, Wifi & BT will active. It’s visibility can be set from profile with WifiBtSwitchEnable item. | √ |
| Microphone and Front USB | Selected value determines that Microphone and Front USB/Front USB is active or not. Auto: Microphone and Front USB/Front USB will active in selected source. Display: If source is G10, Microphone and Front USB/Front USB will active. Android: If source is android, Microphone and Front USB/Front USB will active. OPS: If source is OPS, Microphone and Front USB/Front USB will active. The name of menu item is determined from profile with the selected mode of USBSwitchMode item. The modes are : disabled (item is disable), MicrophoneandFrontUSB (Item name is Microphone and Front USB), FrontUSB (Item name is Front USB) | √ |
| Menu Lock | Provides the lock all menus, if it is selected “All menus” , all are locked only activated after entering the password. | √ |
| Auto Source Switch | This provides to switch to current active(plugged) hdmi source. (HDMI1 and HDMI2). There is also 3-second restriction for the successive connected HDMI sources. This means, second HDMI must be plugged after 3 second when first HDMI device is plugged. | |
| Bluetooth |
2.3- Power Up Settings
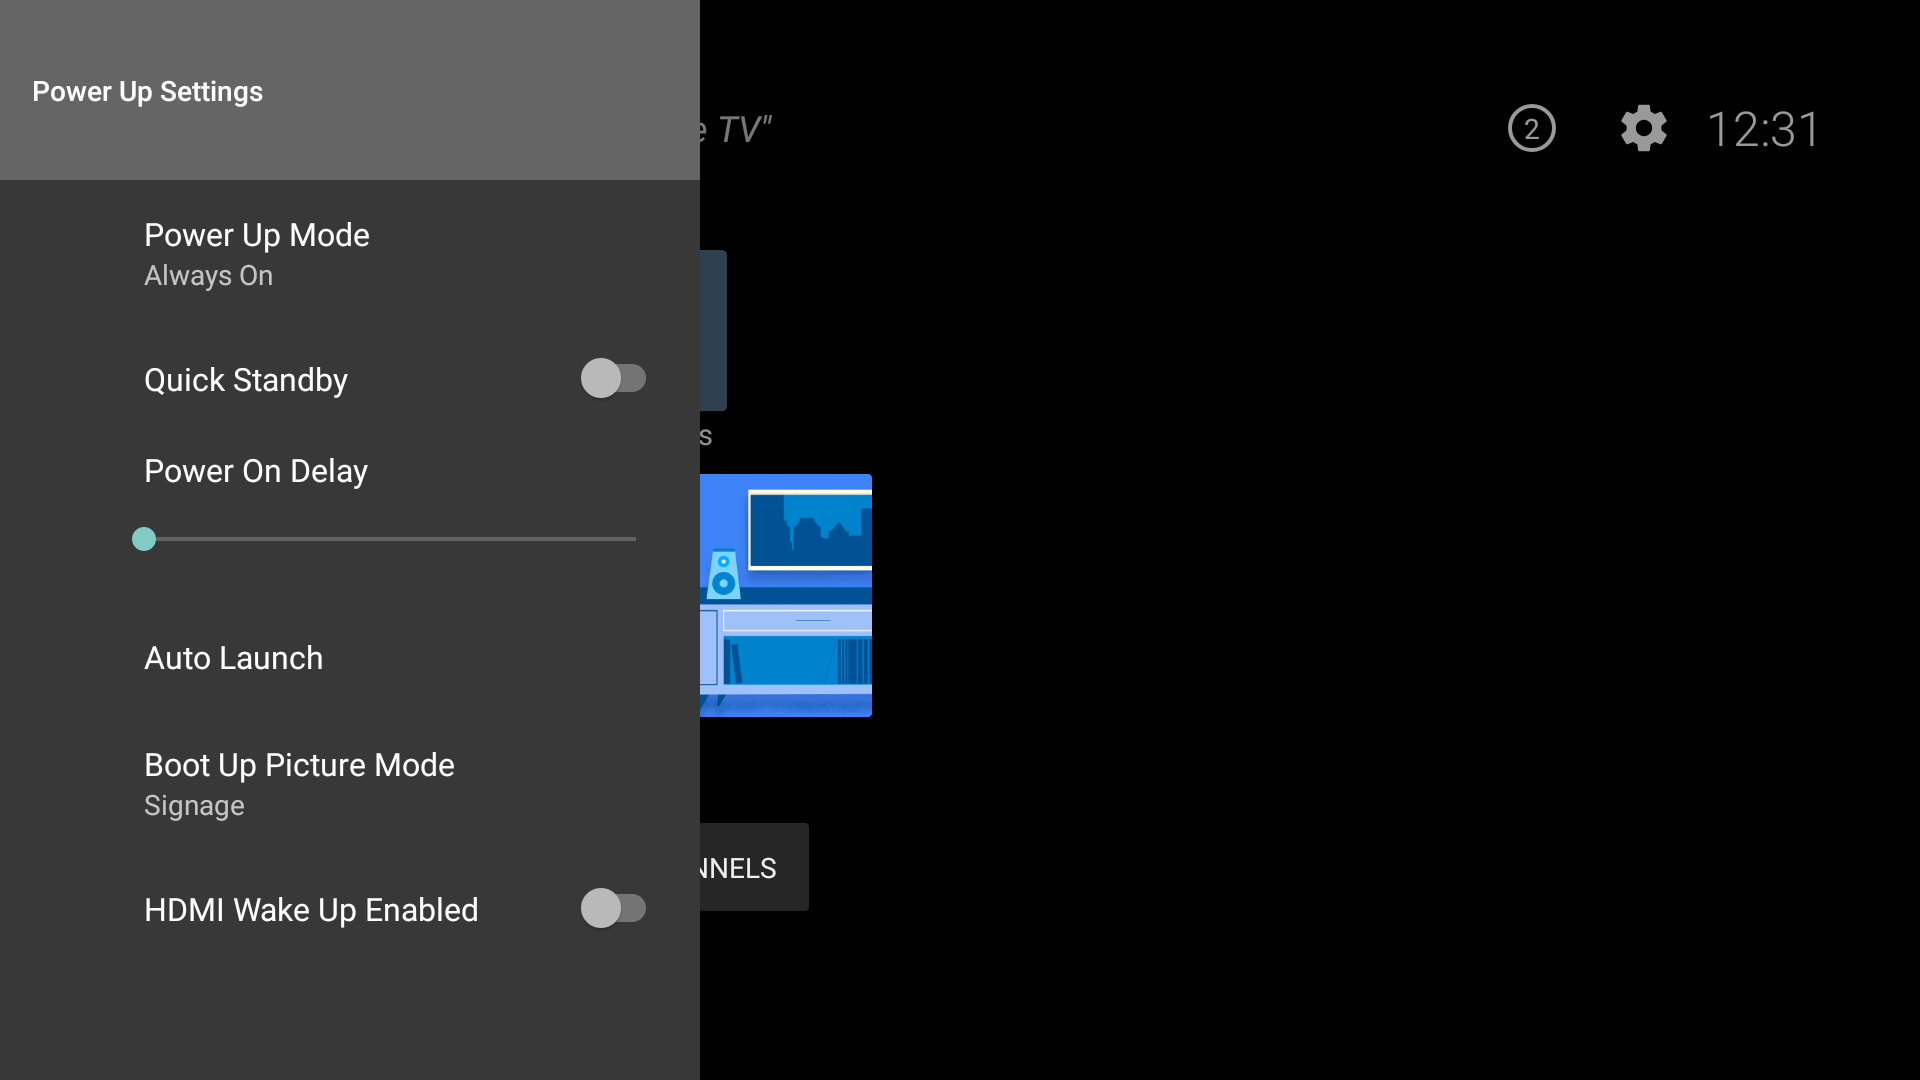
| Item | Function | Functionality |
| Power Up Mode | Select Last state, Always on, Standby. If Last state is selected TV opens with the closing state. If Standby is selected TV opens with standby status. If it is Always on TV opens with “ON” status. | √ |
| Quick Standby | Enable/disable quick standby | √ |
| Power On Delay | Set power on delay value as multiples of 100ms. It provides opening the tv as much as late that configured ms value. Range: 0 – 2000ms | |
| Auto Launch | Open Auto Launch Menu | √ |
| HDMI Wakeup Enabled | Select enable/disable. HDMI wakeup feature works based on HDMI 5V signal, When signal is active tv wakes up and when signal is inactive tv shuts down. |
2.3.1-Auto Launch
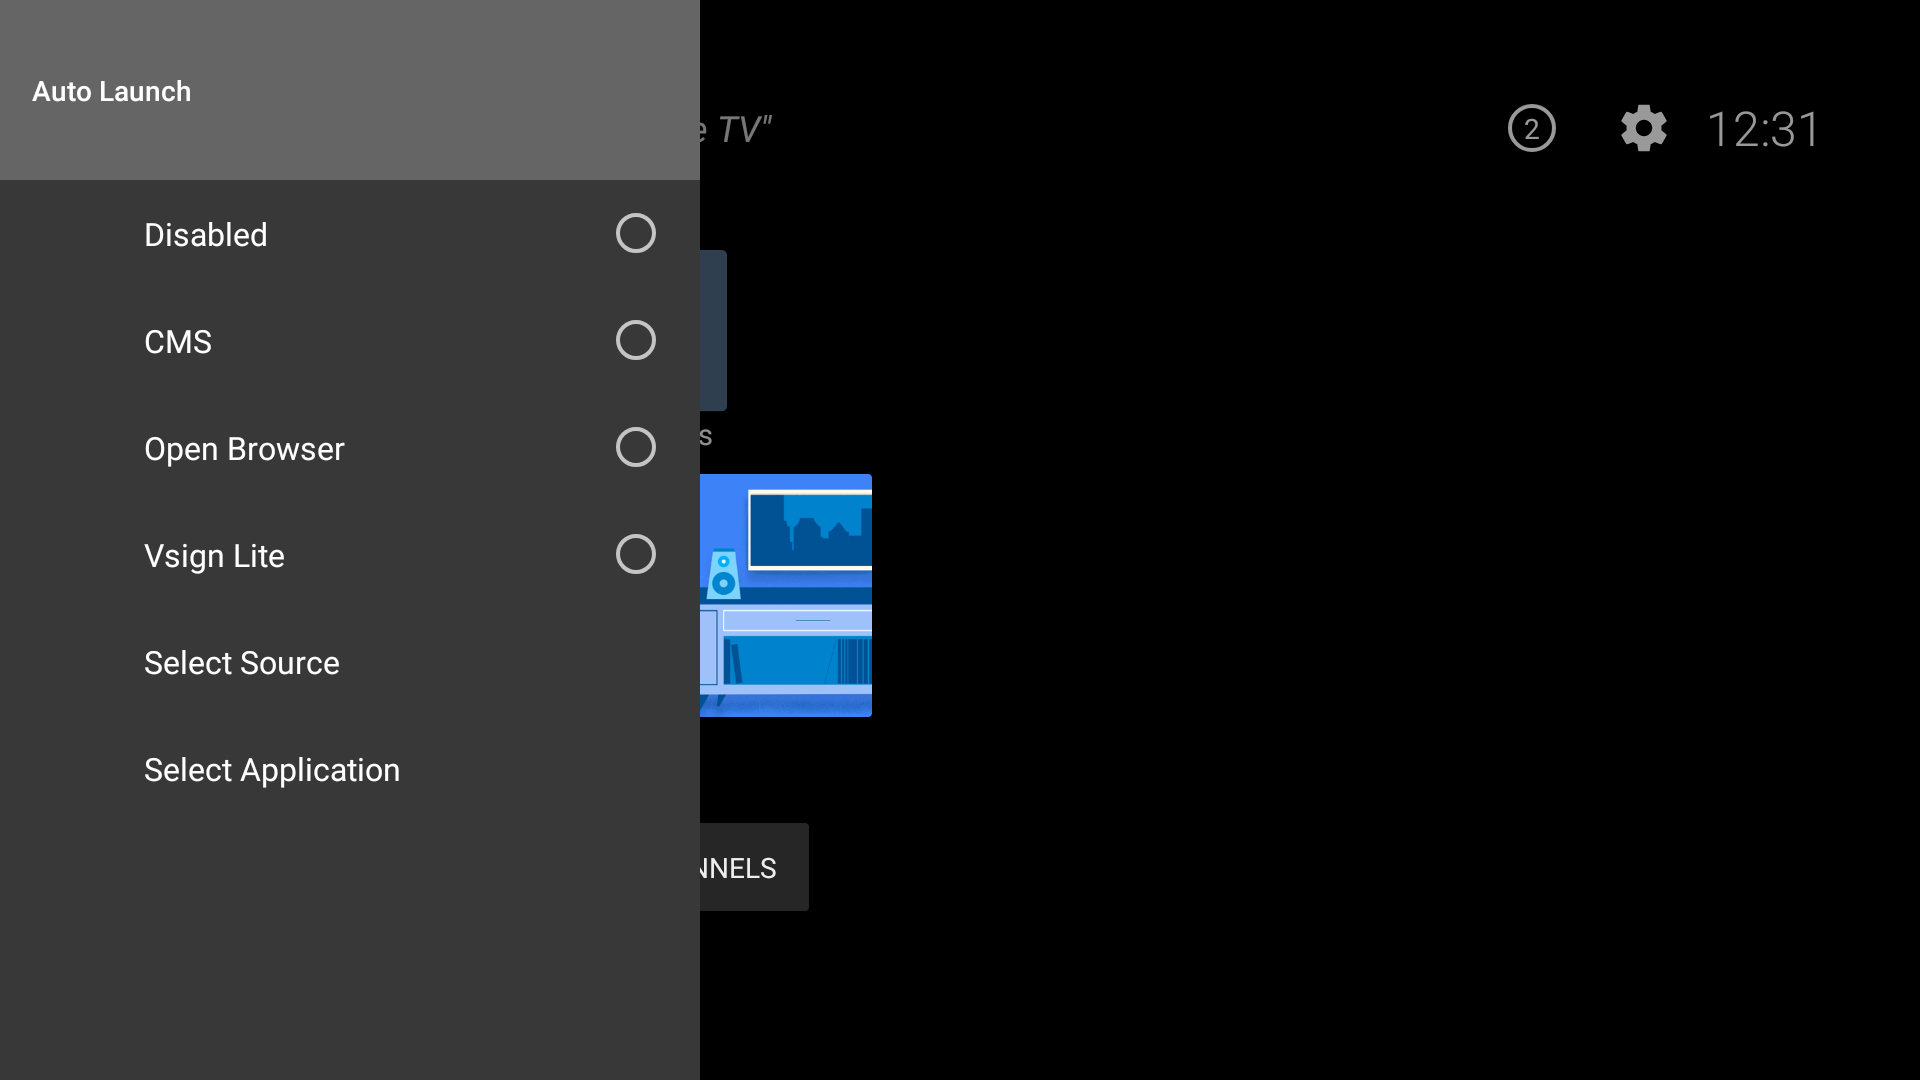
| Item | Function | Functionality |
| Auto Launch | Options: Disabled, CMS, Open Browser, Vsign Lite or Any of the following sources; DP, OPS, Type C, HDMI1, HDMI2, HDMI3, HDMI4 or Any user installed application or system application. | √ |
2.4- USB Menu
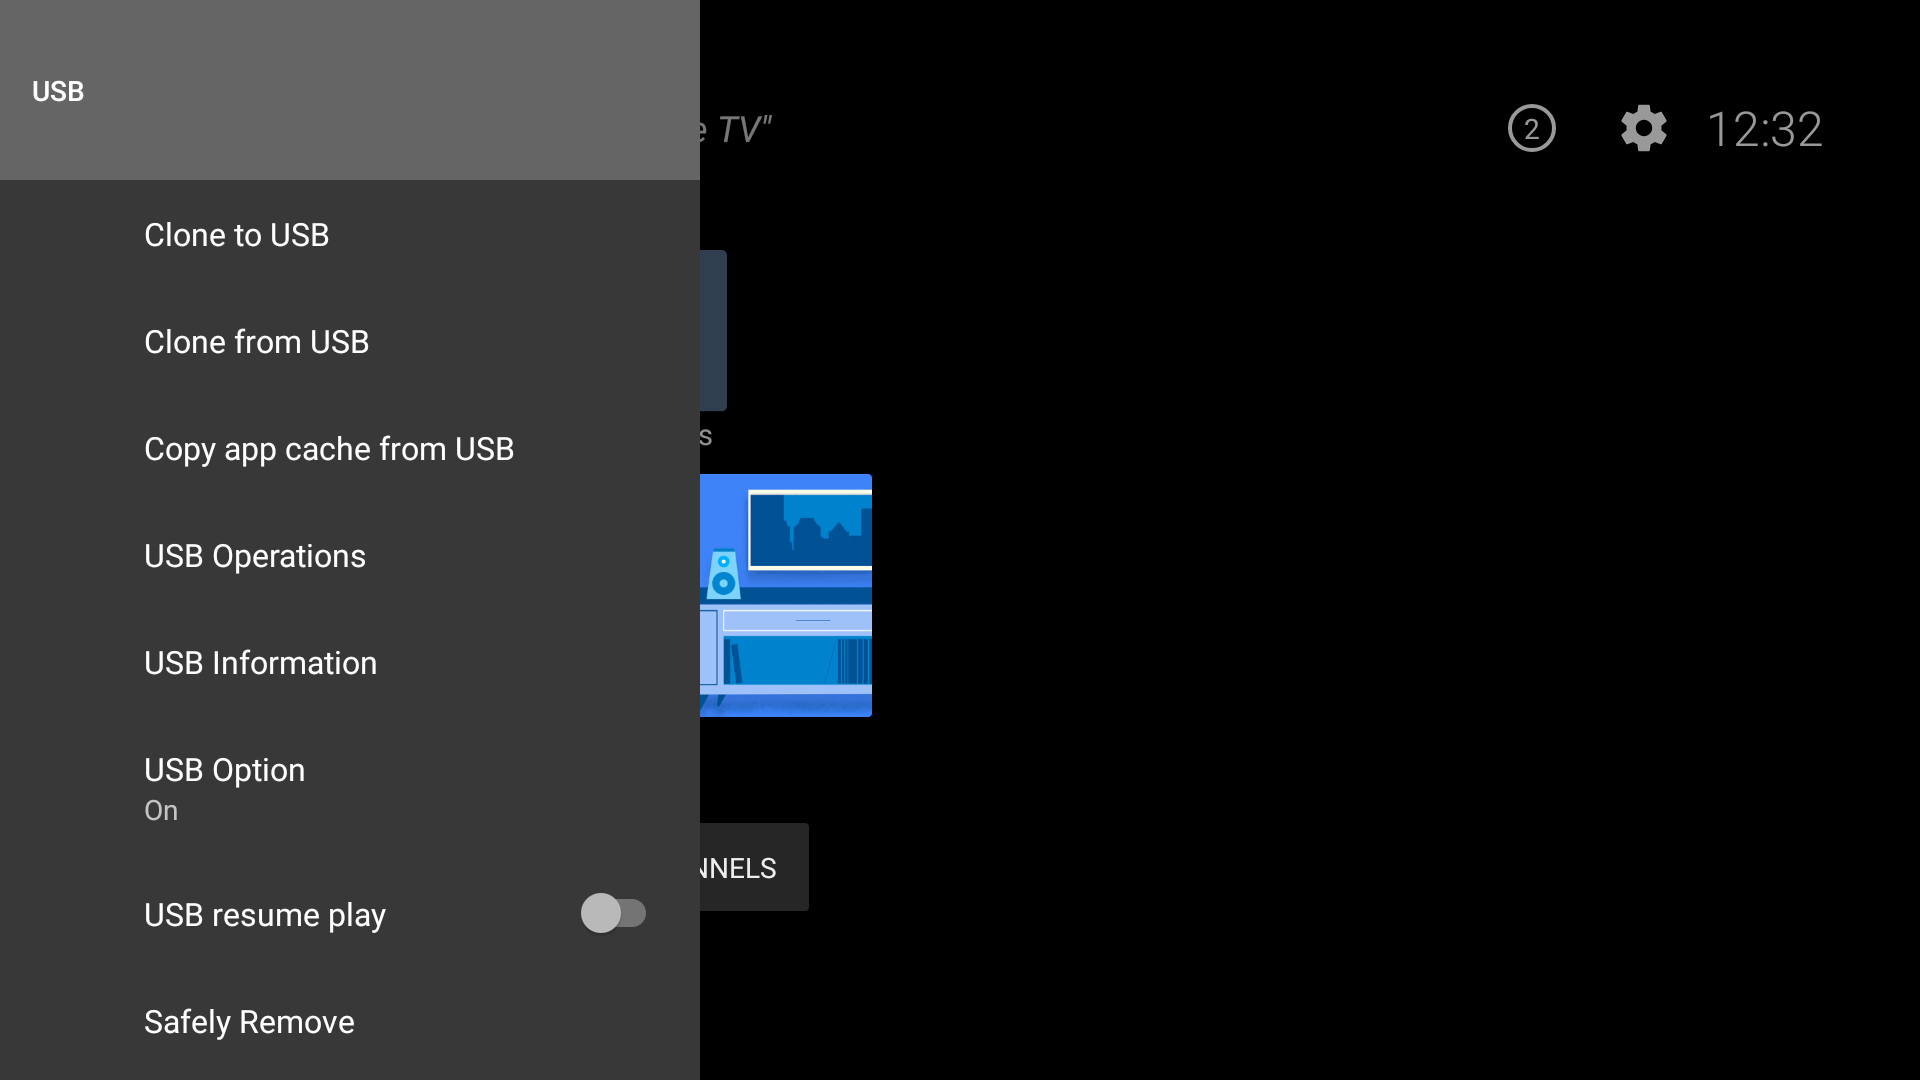
| Item | Function | Functionality |
| USB Operations | Do USB Operations | √ |
| USB Information | Shows Free/Total USB Storage | √ |
2.5- Video Wall Settings
2.6- OPS Settings
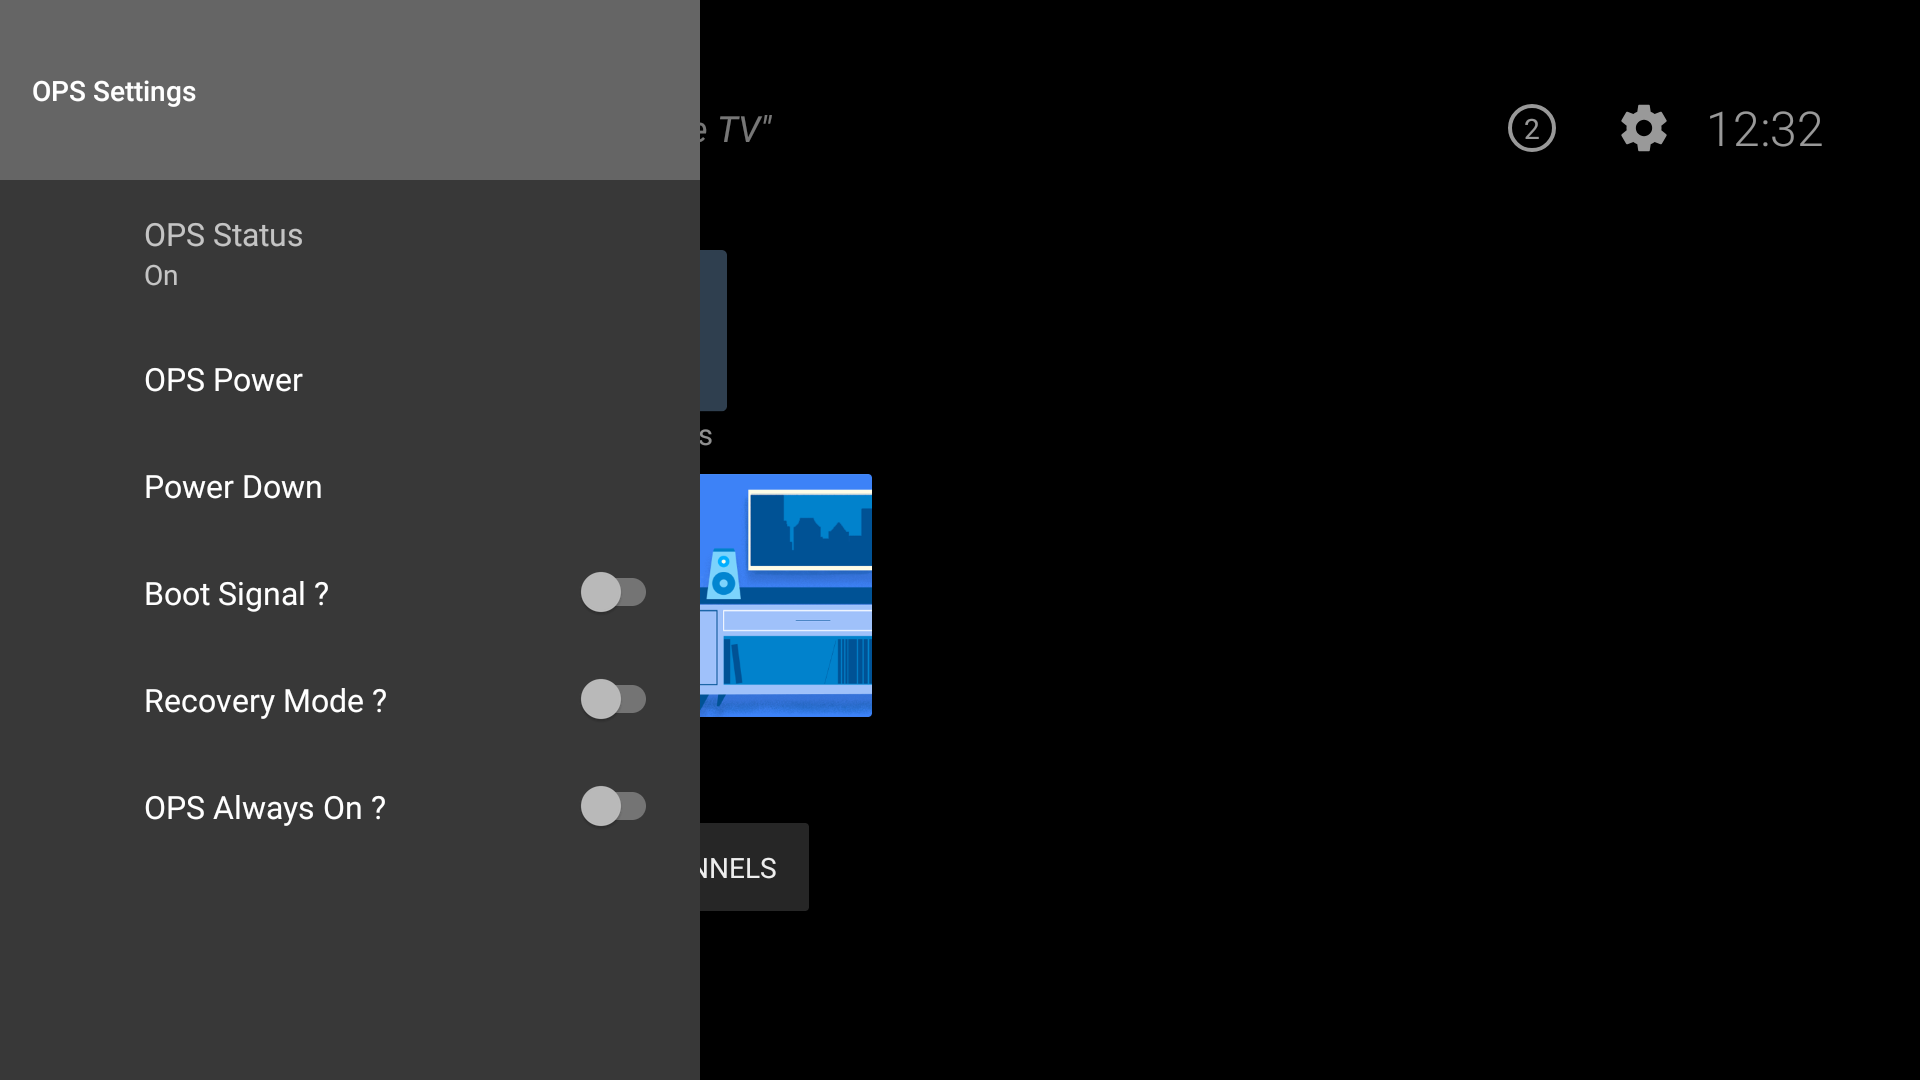
| Item | Function | Fuctionality |
| Boot Signal | Enables or disables sending of a PSON signal when a non-standard OPS erroneously reports it is ON during bootup. | |
| OPS Always On | When this option is enabled,Quick standby will be forced to enabled and OPS will not be set to standby. Default disabled. | |
| OPS Status | Provides to turn on and turn off OPS | √ |
| OPS Information | Shows ops information | √ |
| Power Down | Provides to power down OPS | √ |
| Recovery Mode | When recovery mode is enable and OPS is on, if there is no video for 10 seconds it resets hotplug, after 30 seconds still video is not available it reboots OPS This new item will be active when Power Off Mode is normal. |

